When you schedule an appointment for a new patient, a patient record does not exist for that patient. It is not until the patient arrives for his or her appointment that you want to create a record for him or her in your patient database. However, you do not want to have to re-enter any of the patient information that was entered when the appointment was scheduled. Dentrix Enterprise provides a way for you to quickly create a patient record using information from a new-patient appointment.
Notes:
When you create a Family File record from a new-patient appointment, the name, primary and secondary phone numbers, street address, and referral source specified are transferred to the patient's record. However, the email address specified is transferred only if you are adding the patient to a new family; if you are adding the patient to an existing family, the guarantor's email address is used.
If you are using the HL7 interface, and a certain global setting is enabled, to add a patient to an existing family in Dentrix Enterprise, you must do so in your medical software.
To add a new patient with an appointment
In Appointment Book, select a new-patient appointment.
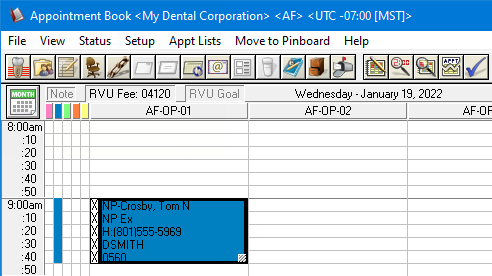
Note: A new-patient appointment has an "NP" preceding the patient's name. You must have a new-patient appointment selected for this process to work.
Do one of the following:
Create a family with the new patient as the head of household:
Right-click the new patient's appointment, point to Create New Patient with Appt., and then click Create New Family.
If applicable, do one of the following:
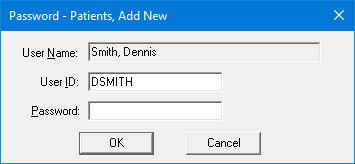
If the Password - Patients, Add New dialog box appears, user verification has been assigned to the "Patients, Add New" task. Do one of the following:
If your user account has been granted the "Patients, Add New" security right, enter your credentials in the User ID and Password boxes, and then click OK.
If your user account has not been granted the "Patients, Add New" security right, have a user with permission temporarily override this restriction so you can add a family this one time. The overriding user enters his or her credentials in the User ID and Password boxes and then clicks OK.
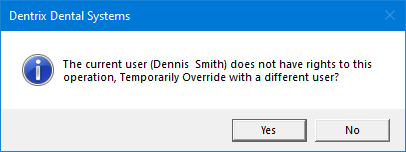
If a message appears, informing you that you do not have rights to this operation, your user account has not been granted the "Patients, Add New" security right. To have a user with permission temporarily override this restriction so you can add a family this one time, do the following:
On the message, click Yes.
In the Password - Patients, Add New dialog box, the overriding user enters his or her credentials in the User ID and Password boxes and then clicks OK.

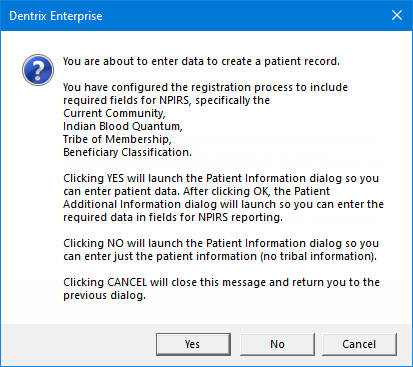
(For IHS facilities only) If the organization setting "Patient Additional Information" is required, a confirmation message appears and informs you that you have configured the registration process to include required fields for NPIRS and displays the required fields. Do one of the following:
Click Yes to open the Head-of-House Information dialog box. After you enter the patient's information and then click OK, the Patient Additional Information dialog box opens so you can enter the required information for NPIRS reporting.
Click No to open the Head-of-House Information dialog box so you can enter just the patient information (no tribal information) and then click OK. Later, you can edit the patient's record to enter the required information for NPIRS reporting.
The Head-of-House Information dialog box appears and is populated with information from the appointment.
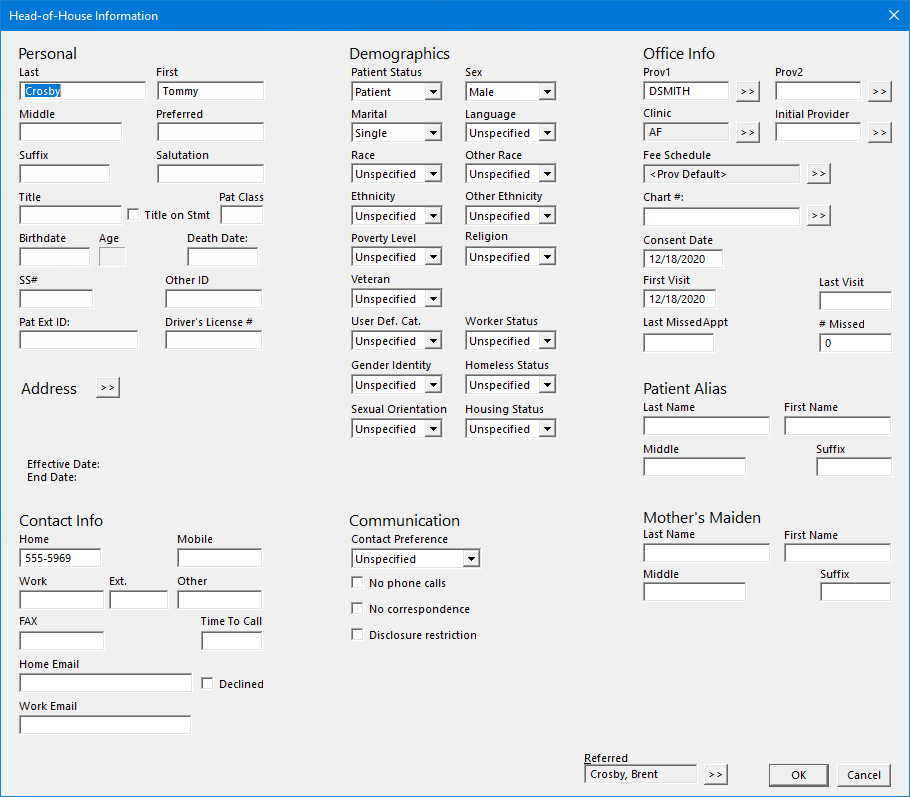
Enter the rest of the head of household's information, and then click OK.
(For IHS facilities only) If you completed step c, and clicked Yes on the message that appeared, the Patient Additional Information dialog box opens so you can enter the required information for NPIRS reporting. You must specify all required information to save the patient's record.
Add the new patient to an existing family:
Right-click the new patient's appointment, point to Create New Patient with Appt., and then click Select Family.
The Select Patient dialog box appears.
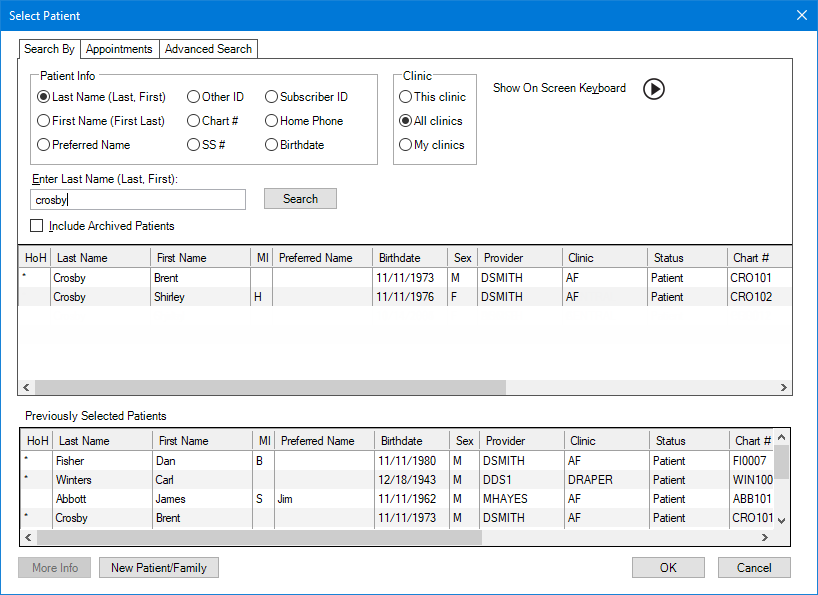
Search for and select any of the new patient's family members who are patients of record, and then click OK.
If applicable, do one of the following:
If the Password - Patients, Add New dialog box appears, user verification has been assigned to the "Patients, Add New" task. Do one of the following:
If your user account has been granted the "Patients, Add New" security right, enter your credentials in the User ID and Password boxes, and then click OK.
If your user account has not been granted the "Patients, Add New" security right, have a user with permission temporarily override this restriction so you can add a family this one time. The overriding user enters his or her credentials in the User ID and Password boxes and then clicks OK.

If a message appears, informing you that you do not have rights to this operation, your user account has not been granted the "Patients, Add New" security right. To have a user with permission temporarily override this restriction so you can add a family this one time, do the following:
On the message, click Yes.

In the Password - Patients, Add New dialog box, the overriding user enters his or her credentials in the User ID and Password boxes and then clicks OK.

(For IHS facilities only) If the organization setting "Patient Additional Information" is required, a confirmation message appears and informs you that you have configured the registration process to include required fields for NPIRS and displays the required fields. Do one of the following:
Click Yes to open the Patient Information dialog box. After you enter the patient's information and then click OK, the Patient Additional Information dialog box opens so you can enter the required information for NPIRS reporting.
Click No to open the Patient Information dialog box so you can enter just the patient information (no tribal information) and then click OK. Later, you can edit the patient's record to enter the required information for NPIRS reporting.

The Patient Information dialog box appears and is populated with information from the appointment.
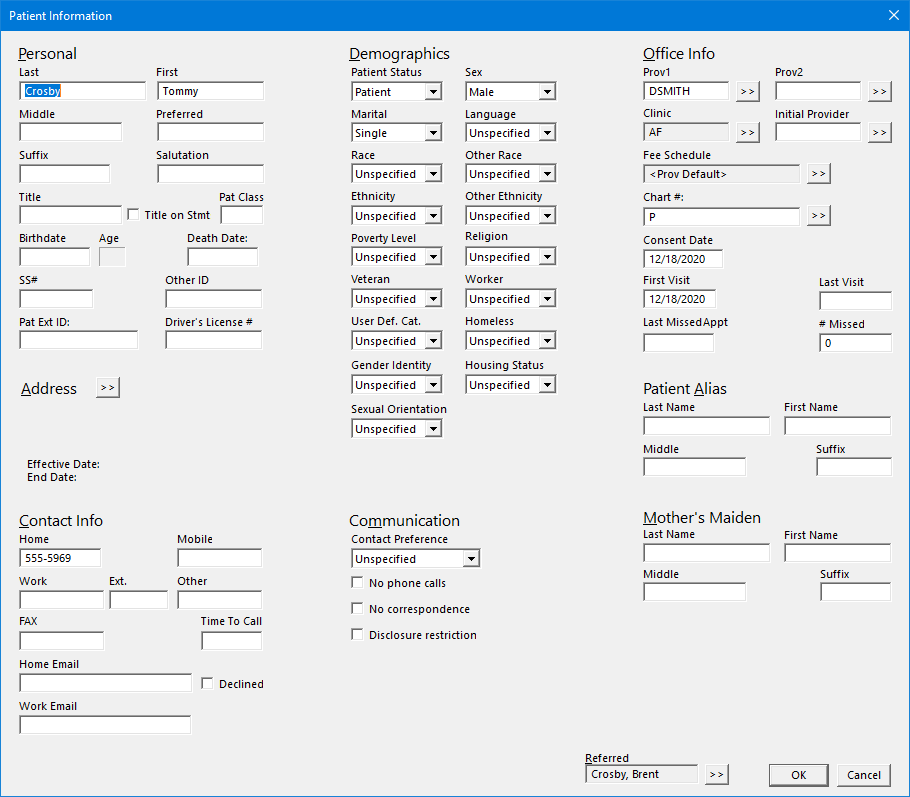
Enter the rest of the patient's information, and then click OK.
(For IHS facilities only) If you completed step d, and clicked Yes on the message that appeared, the Patient Additional Information dialog box opens so you can enter the required information for NPIRS reporting. You must specify all required information to save the patient's record.
Appointment Book now shows the appointment as a regular appointment (the "NP" is gone)
